its down again. Polybunny be lurkin here hard now XD
F
FemboyWaifu
@FemboyWaifu
Posts
-
LF: Raruh Endoskeleton & Pump -
LF: Raruh by Torinyan and Limebreaker (and other assets)@EmiliaSilvie that could be a combination of both world lighting and their own personal material settings. the face is the free decal addon on though. thats where the freckles and makeup come from. i haven't tinkered around with shaders in stuff yet. its on my to do list for weekend projects after VRM conversion of something else.
-
LF: Raruh by Torinyan and Limebreaker (and other assets)@EmiliaSilvie Ah - yeah, i explained how to add it to the RGB slider. I didn't think to add that part too >.< and I did that for myself. Sowwy about that.
-
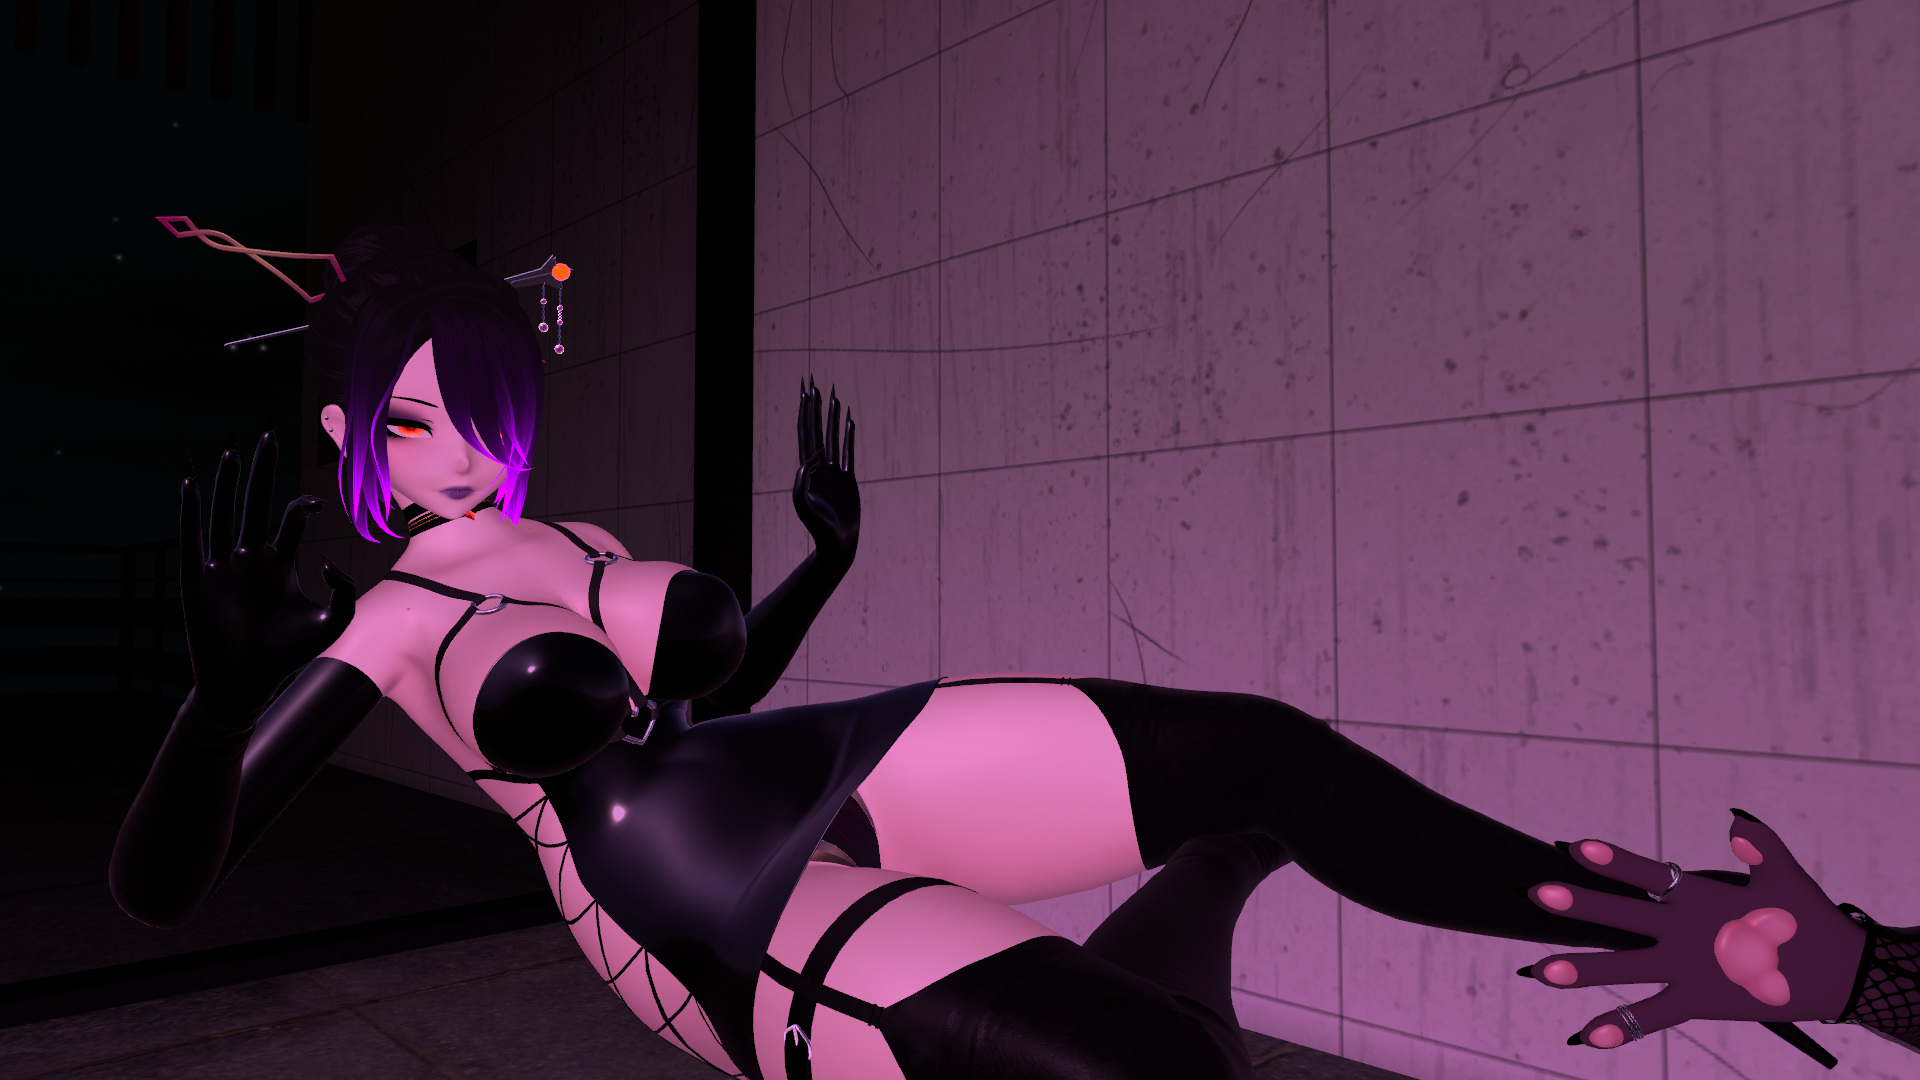
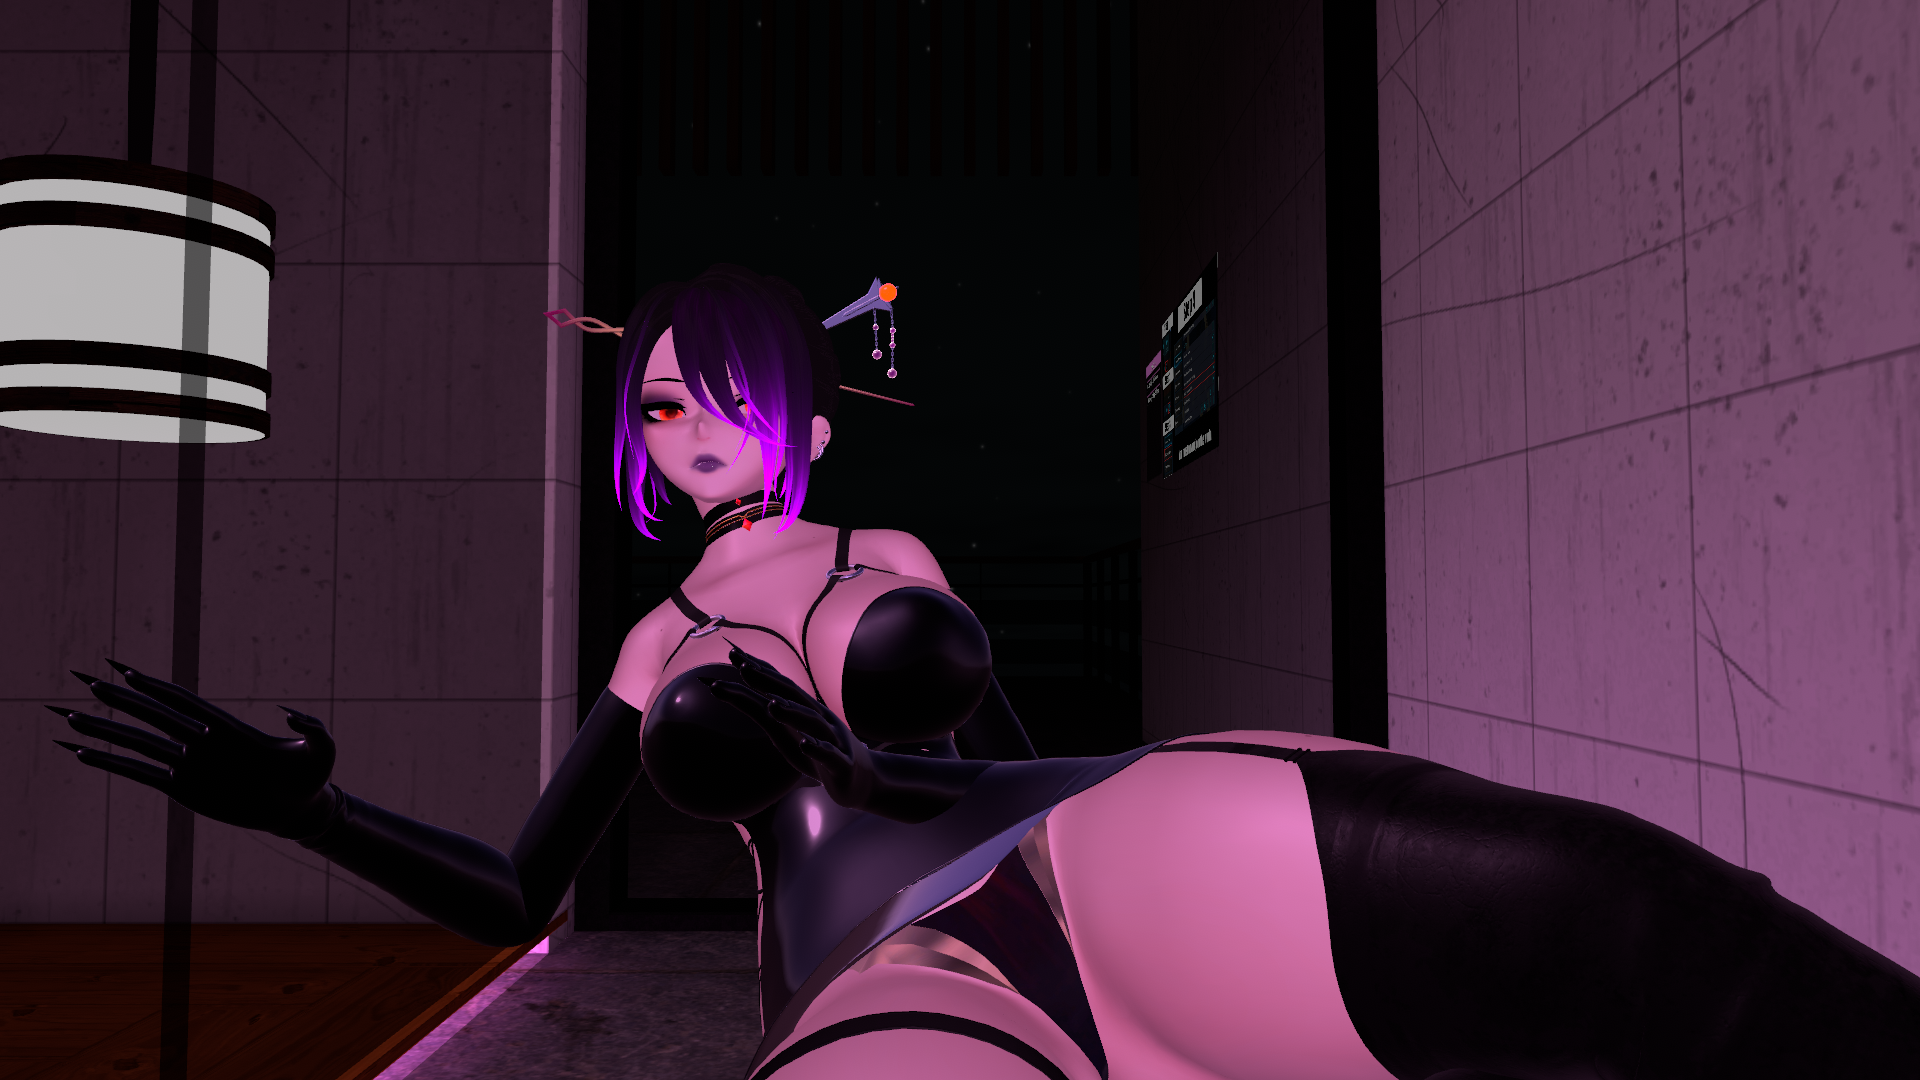
LF: Raruh by Torinyan and Limebreaker (and other assets)Okay, sorry for the long wait. Firstly... be careful everyone, Tori is bringing down ban hammer in his server. Friend of mine already got hit. And that also means most likely the other creators have been informed too, so, be on guard.
As for the modded textures - here's how I did the materials for the B1TTY, M.E.G.A. Chassis and FL4T Chest
For the modded textures, and this part works for both skin tones, I dropped the base texture into another art app just to get the color code - for the dark skin it
Light Skin's Hexadecimal code is FFE7DA
Dark Skin's is 63524A
What I did was make a texture thats nothing but that color. You're going to use it for all three.
For the B1TTY: In the material go to Decal, add the color texture to "Decal" and this mask I made into the Decal RGBA Mask. Make sure decal is on. Next go to the Matcaps. Turn off Matcap 1 and 3 to remove the shine since the rest of the skin is very matte, it looks VERY off putting. When I was working on it like 6 friends pointed that out within 5 minutes at an event lol.M.E.G.A. Chassis - add the texture to decal, same way. Turn off Matcap 0 and 3 (2 is blank, but make sure its off too)
FL4T Chest - add the texture to the Main in Colors & Normals. Turn off Matcap 0, 2 and 3.And now they should all have the same (for the light skin tone, might be a little off because i didn't make that one, i used color grab just to get it from the texture in Unity for a friend) as well as the same matte look.
For the hair and anything else to add the color, you'll have to add them to the animations. The problem with almost every Raruh part is the creators just used the original FX Layer and then give that to you and tell you just use that as well as replace the animations with theirs. That's fine if you only have one, or in one case I think all the creator's parts are on the animation. But if you have multiple creator's mods, you're going to have to add them to the animations manually.
So for any additional part if you wanna just add it to what you already have in the animations you need to edit the following to make sure they match with RGB, Emission strength, Lighting strength and Audiolink. For anyone who hasn't done animation stuff, I'll give the TLDR. Make a copy of your model, Add the FX Layer you're going to edit to its Controller in Animator (when you click the model you'll see it in Inspection at the top). Go to animation and you can now find the one you're going to edit. Make sure any material you're going to be adding is active just so you don't have to worry about adding things to it like turning on and off. Now when you hit record, you can edit the material and add it. These are what you're going to want to add on to each one. Make sure that after you put the value in, you hit record again so it saves it. I do it after each one, just to be sure. For the M.E.G.A. Chassis, you need to do this for each one you're using, so Booba_NSFW, Booba_SFW_Side, Booba_SFW_Top, and Tubes you need to do this for, even though they're the same material.
color and color 1 add your emission hue shift (any you want to change colors) (color is 0, color 1 is 100)
emission and emission 1 - go down to Post Processing in the material and in PP Animation. Change Emission Multiplier, 0 for emission, 1 for emission 1.
lighting and lighting 1 - in Post Processing, PP Animation, Change Lighting Multiplier. 0 for lighting, 1 for lighting 1.
audiolink_on_off - go to Audiolink and for the first time stamp (0:00) make sure the Anim Toggle is checked on. at the second time stamp (0:01) make sure its off.Now everything is color matched, lighting matched, emission matched, and set up for audio link
Screenshots to help as wellB1TTY
Mask for Decal

Decal Settings
https://gyazo.com/167d54e6f8754005ab3284ad9bee52b9
FL4T Settings
https://gyazo.com/a73923eb8042060e02375b1fcc1ae675
M.E.G.A. Chassis Settings
https://gyazo.com/863576b9f7ae034f96f00c46d7b2bd7e
Emission Hue Shift Location
https://gyazo.com/0f2a028743d28d178322d103f524533a
Audiolink and Post Processing Location
https://gyazo.com/e6eac0f7f5eec5fc979da00b7a5d78a0 -
LF: Raruh by Torinyan and Limebreaker (and other assets)@StuffedRavioli you dont need much. i just made a literal color sheet and then just turned off the matcaps (cant remember which ones off the top of my head, i think it was 2 of the three). I did the same already for the FL4T and the B1TTY chests. I just used the same texture. later on today i can check and post exactly how i made it work with a few screenshots
-
LF: Raruh by Torinyan and Limebreaker (and other assets)https://drive.google.com/file/d/1vlB69XFKlNoJ_-sNnTlAVPXELbZhwNw1/view?usp=sharing *sorry it took so long. new M.E.G.A. Chassis link
-
LF: Raruh by Torinyan and Limebreaker (and other assets)@VoidAura the NSFW is there. I was the one that put it up lol. search for it under Assets.
-
LF: Raruh by Torinyan and Limebreaker (and other assets)Pfft.. I was looking for something I lost and I think someone already posted the M.E.G.A. Chassis, so I'll raise ya one and throw in the Coolant Tank for the GF Butt
https://jeandnim.gumroad.com/l/raruhcoolant?layout=profile&recommended_by=library
https://mega.nz/folder/6H5R3ADK#4HbOWXbWPRpMb778z05S8w -
LF: Raruh by Torinyan and Limebreaker (and other assets)https://booth.pm/en/items/5886069
https://mega.nz/folder/TbRgAZbA#X2OfMx0qFm0UQ57d3gX_ow
M.E.G.A. Chassis v1.0, hotfix and textures.
For those who prefer to be a bit more top heavy X3 -
LF: Hyenid Outfits -
LF: Hyenid Clothes and Accessories. -
LF: Hyenid Assets -
Maruchi current File or FBX [Found]@MameLover The Unity file has everything inside of it. The FBX has to be included because that is what the prefab uses for the model. The PSD files are also included. You can just export them by right clicking and selecting "Show in Explorer" and it will open the folder. You can then do one of two options - 1) Just copy the file location, open it in Blender or Art Editing (for textures) and save over them when you are done and it will rewrite the ones that were already imported by the package. Or 2) Save them outside of the project folder and import them manually so you don't save over the ones that were included.
-
Looking for Super NSFW Runa@VexinTenoa @Talias There's also the fact of how it was worded - the original post said nothing about not wanting to trade money. Said not willing to TRADE. If Vexin meant money, they would have said money originally. They got called out and backpedaled.
Two - It's not even about the stuff that made me want to respond to something this late - but the nerve to ask for someone to give you their ENTIRE assembled version with EVERYTHING on it.... and not be willing to trade....
THAT is probably the worst ask I have ever seen on here or any other similar style site, for anything, ever. -
Name of this model?Friend has this, but she doesn't know the name of the model... Anyone have any ideas?
-
LF: Runa Hairset (Found by: link2432) ✔dammit... if i'd have waited one more day >.<